Raised from Scratch

growing up outside the box: alternatives to processed food and television

Gettin’ Crafty For Christmas! December 4, 2012

SONY DSC

button snowflake ornament

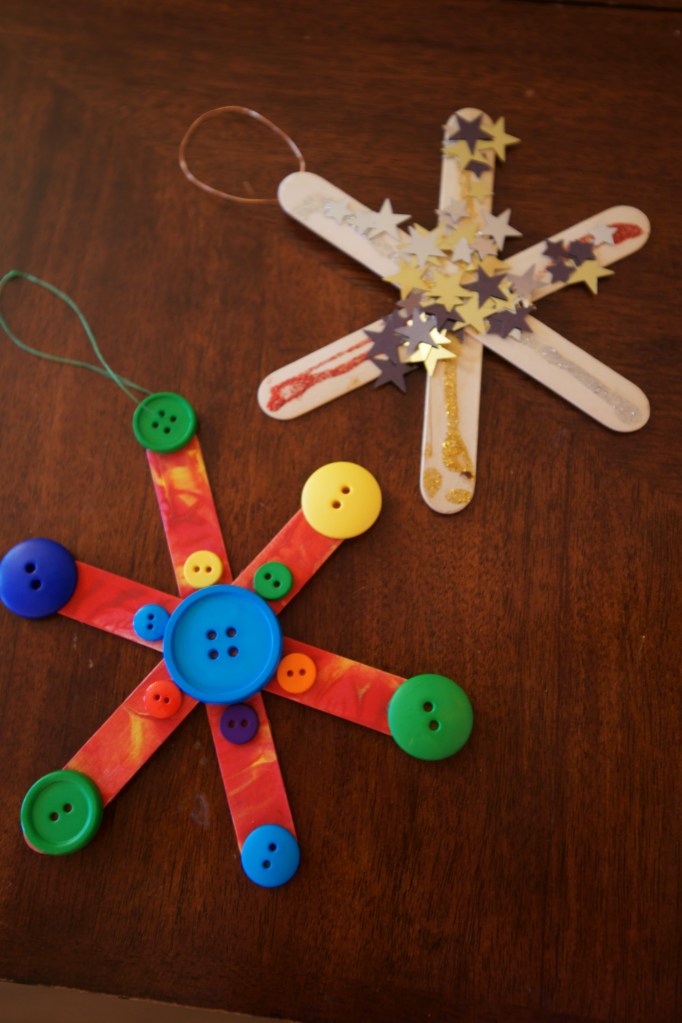
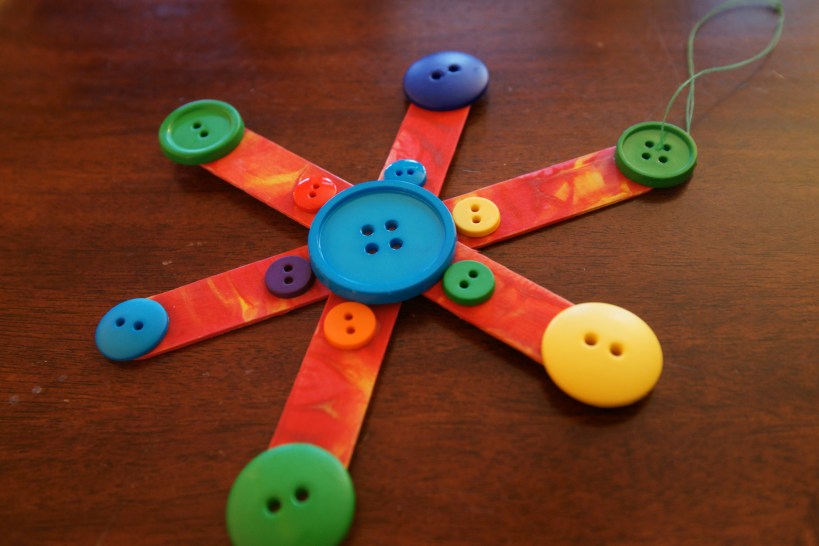
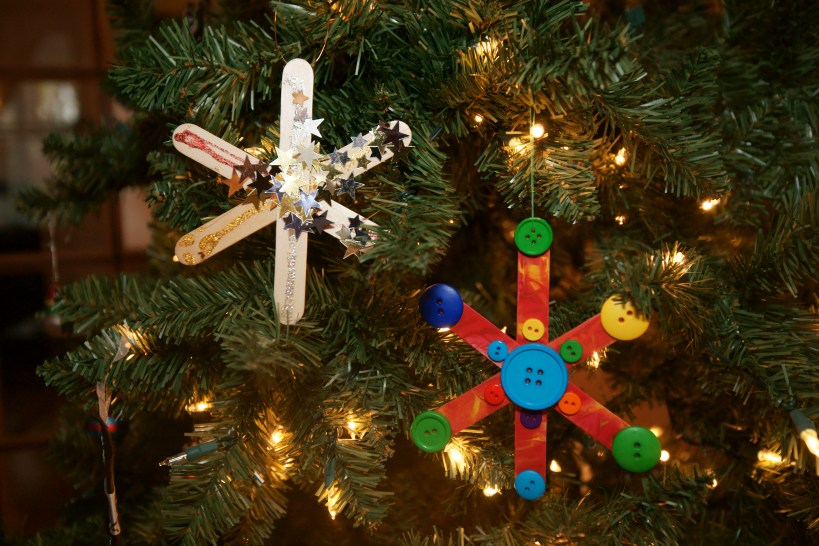
It can be hard to find crafts that are truly appropriate for a toddler’s attention span. I tend to plan too much and end up helping more than I anticipated, but this ornament is not overly ambitious, and it was recently tested on 4 toddlers while I hosted a Christmas crafts and cocoa playdate. I do wish I hadn’t been so wrapped up with hosting that I neglected to take pictures of the kids’ snowflake creations because they were simply beautiful, with globs of glitter glue, colorful pom-poms, sparkly gold and silver stars, bells and assorted buttons. Here I just have two ornaments to show you, mine and Ella’s, though we might make more before Christmas arrives because this craft project is so easy and so much fun.

dating ornaments with stamps

I hope to someday have a tree full of homemade and memory filled ornaments adorning our tree, so dating them seemed appropriate. Our set of little alphabet and number stamps have come in so handy this past year – from making birthday cards, practicing the alphabet, and making impressions on clay to now dating our lovely popsicle snowflakes.

homemade popsicle snowflake ornaments on tree

Step 1: Glue 3 popsicle sticks, painted or plain, into snowflake design (I used a glue-gun but craft/tacky glue should work too).

Step 2: Use craft/tacky glue to attach buttons, pom-poms, confetti, beads, bells, etc. If you want to hang the ornament from a button, leave the holes of one button exposed at one end of your snowflake.

Step 3: After allowing time for the glue to dry, tie a colorful string to your button, or glue wire or ribbon to make a hanger.

Advertisement
 

Homemade Toddler Lacing Cards November 12, 2012

Here’s a very quick craft that helps kids develop sewing skills and hand-eye coordination. Recently my daughter has felt compelled to remove her shoelaces and practice lacing as soon as I ask her to put her shoes on to leave the house. Next time we’re running late I’m going to suggest lacing a star instead so we can get out of the house on time, and we can practice lacing shoes when we get home. Only seems fair to offer her a substitution if I plan to ask her to leave her shoelaces in place, right? Even better, maybe I should cut out a cardboard shoe tomorrow so she can practice the criss-crossing pattern.

All you need: cereal boxes or equivalently thin cardboard, paint, permanent marker or pen to draw an outline, cookie cutters or stencils (optional), scissors, hole puncher, string or yarn, tape

Paint your cardboard and let dry completely. Draw shapes using cookie cutters, stencils, or your good old imagination, cut out shapes, and punch holes. Tie one end of the string on to the shape and wrap a small piece of tape around the other end to give the kids something sturdy to hold on to and push through the holes. Voila, you just saved $10 and shared a crafty experience with your child.

Store them on the refrigerator for an activity to occupy the kids while you’re cooking.

My little one really liked stringing the cards together for a makeshift kite, which we proceeded to “fly” in the breeze of our floor fan while singing “Let’s Go Fly a Kite” from Mary Poppins.