Raised from Scratch

growing up outside the box: alternatives to processed food and television

Sweet ‘n Spicy! January 2, 2014

chili coconut cup

chili powder coconut cinnamon

almond-butter cup

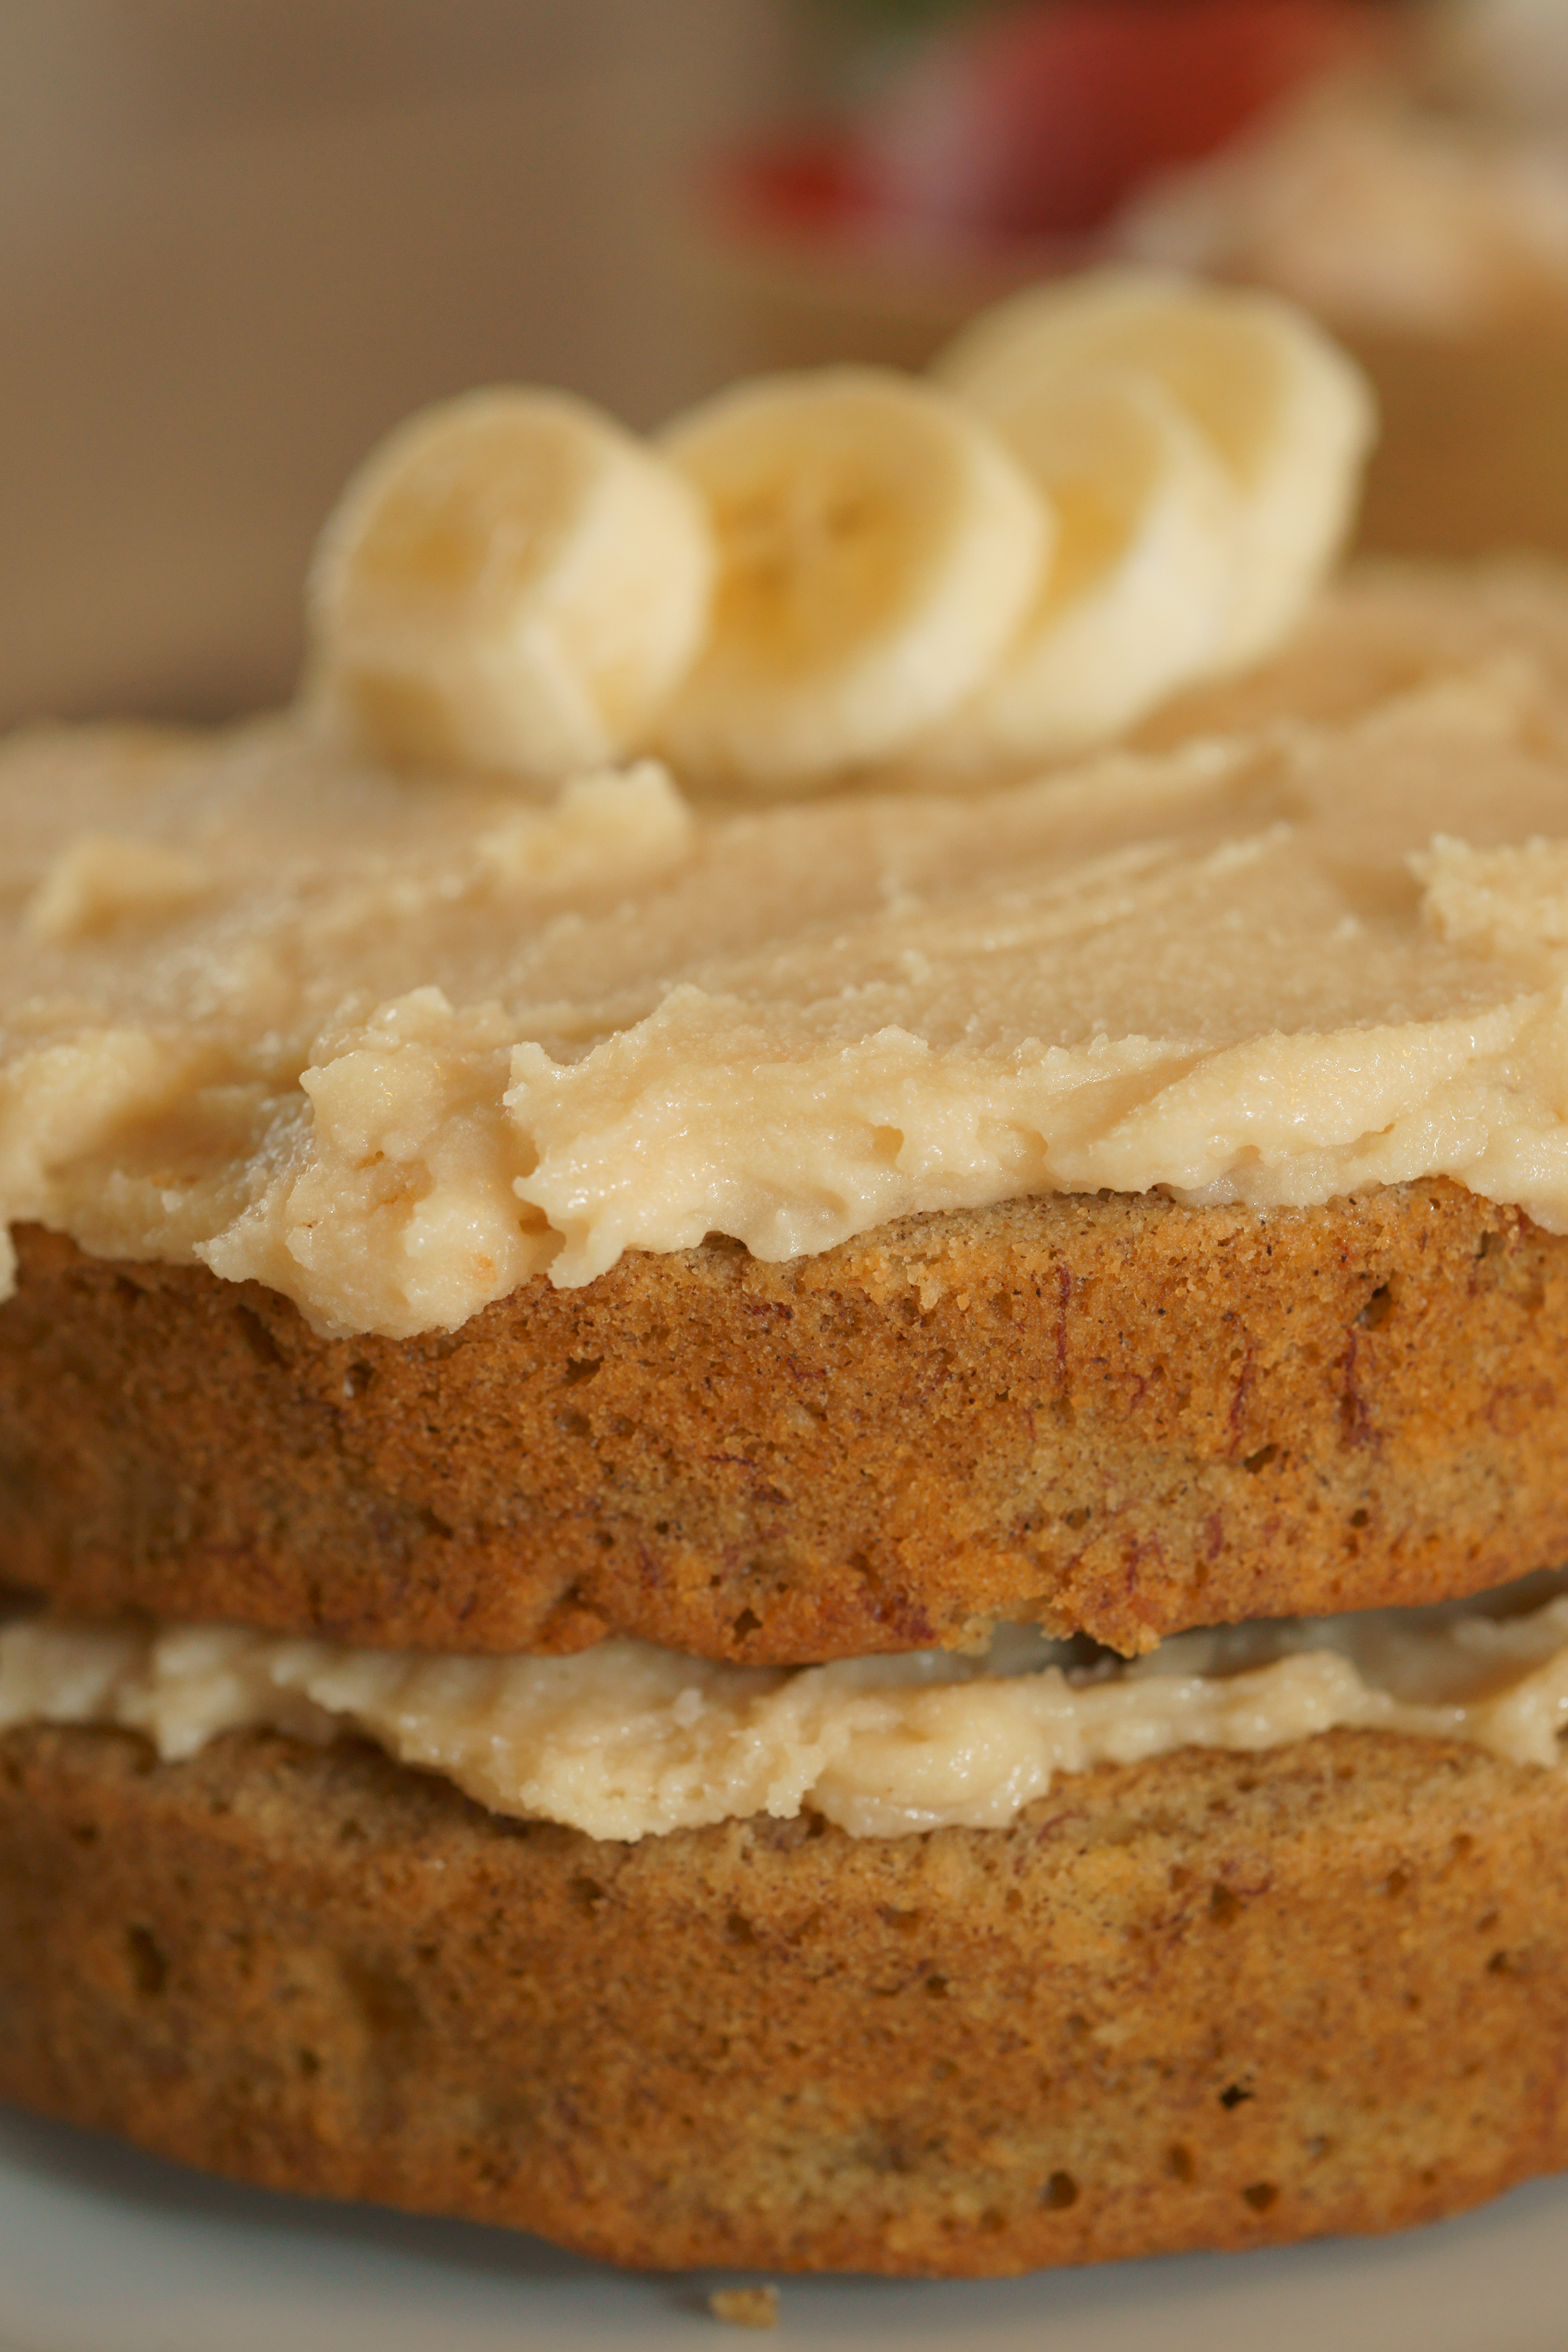
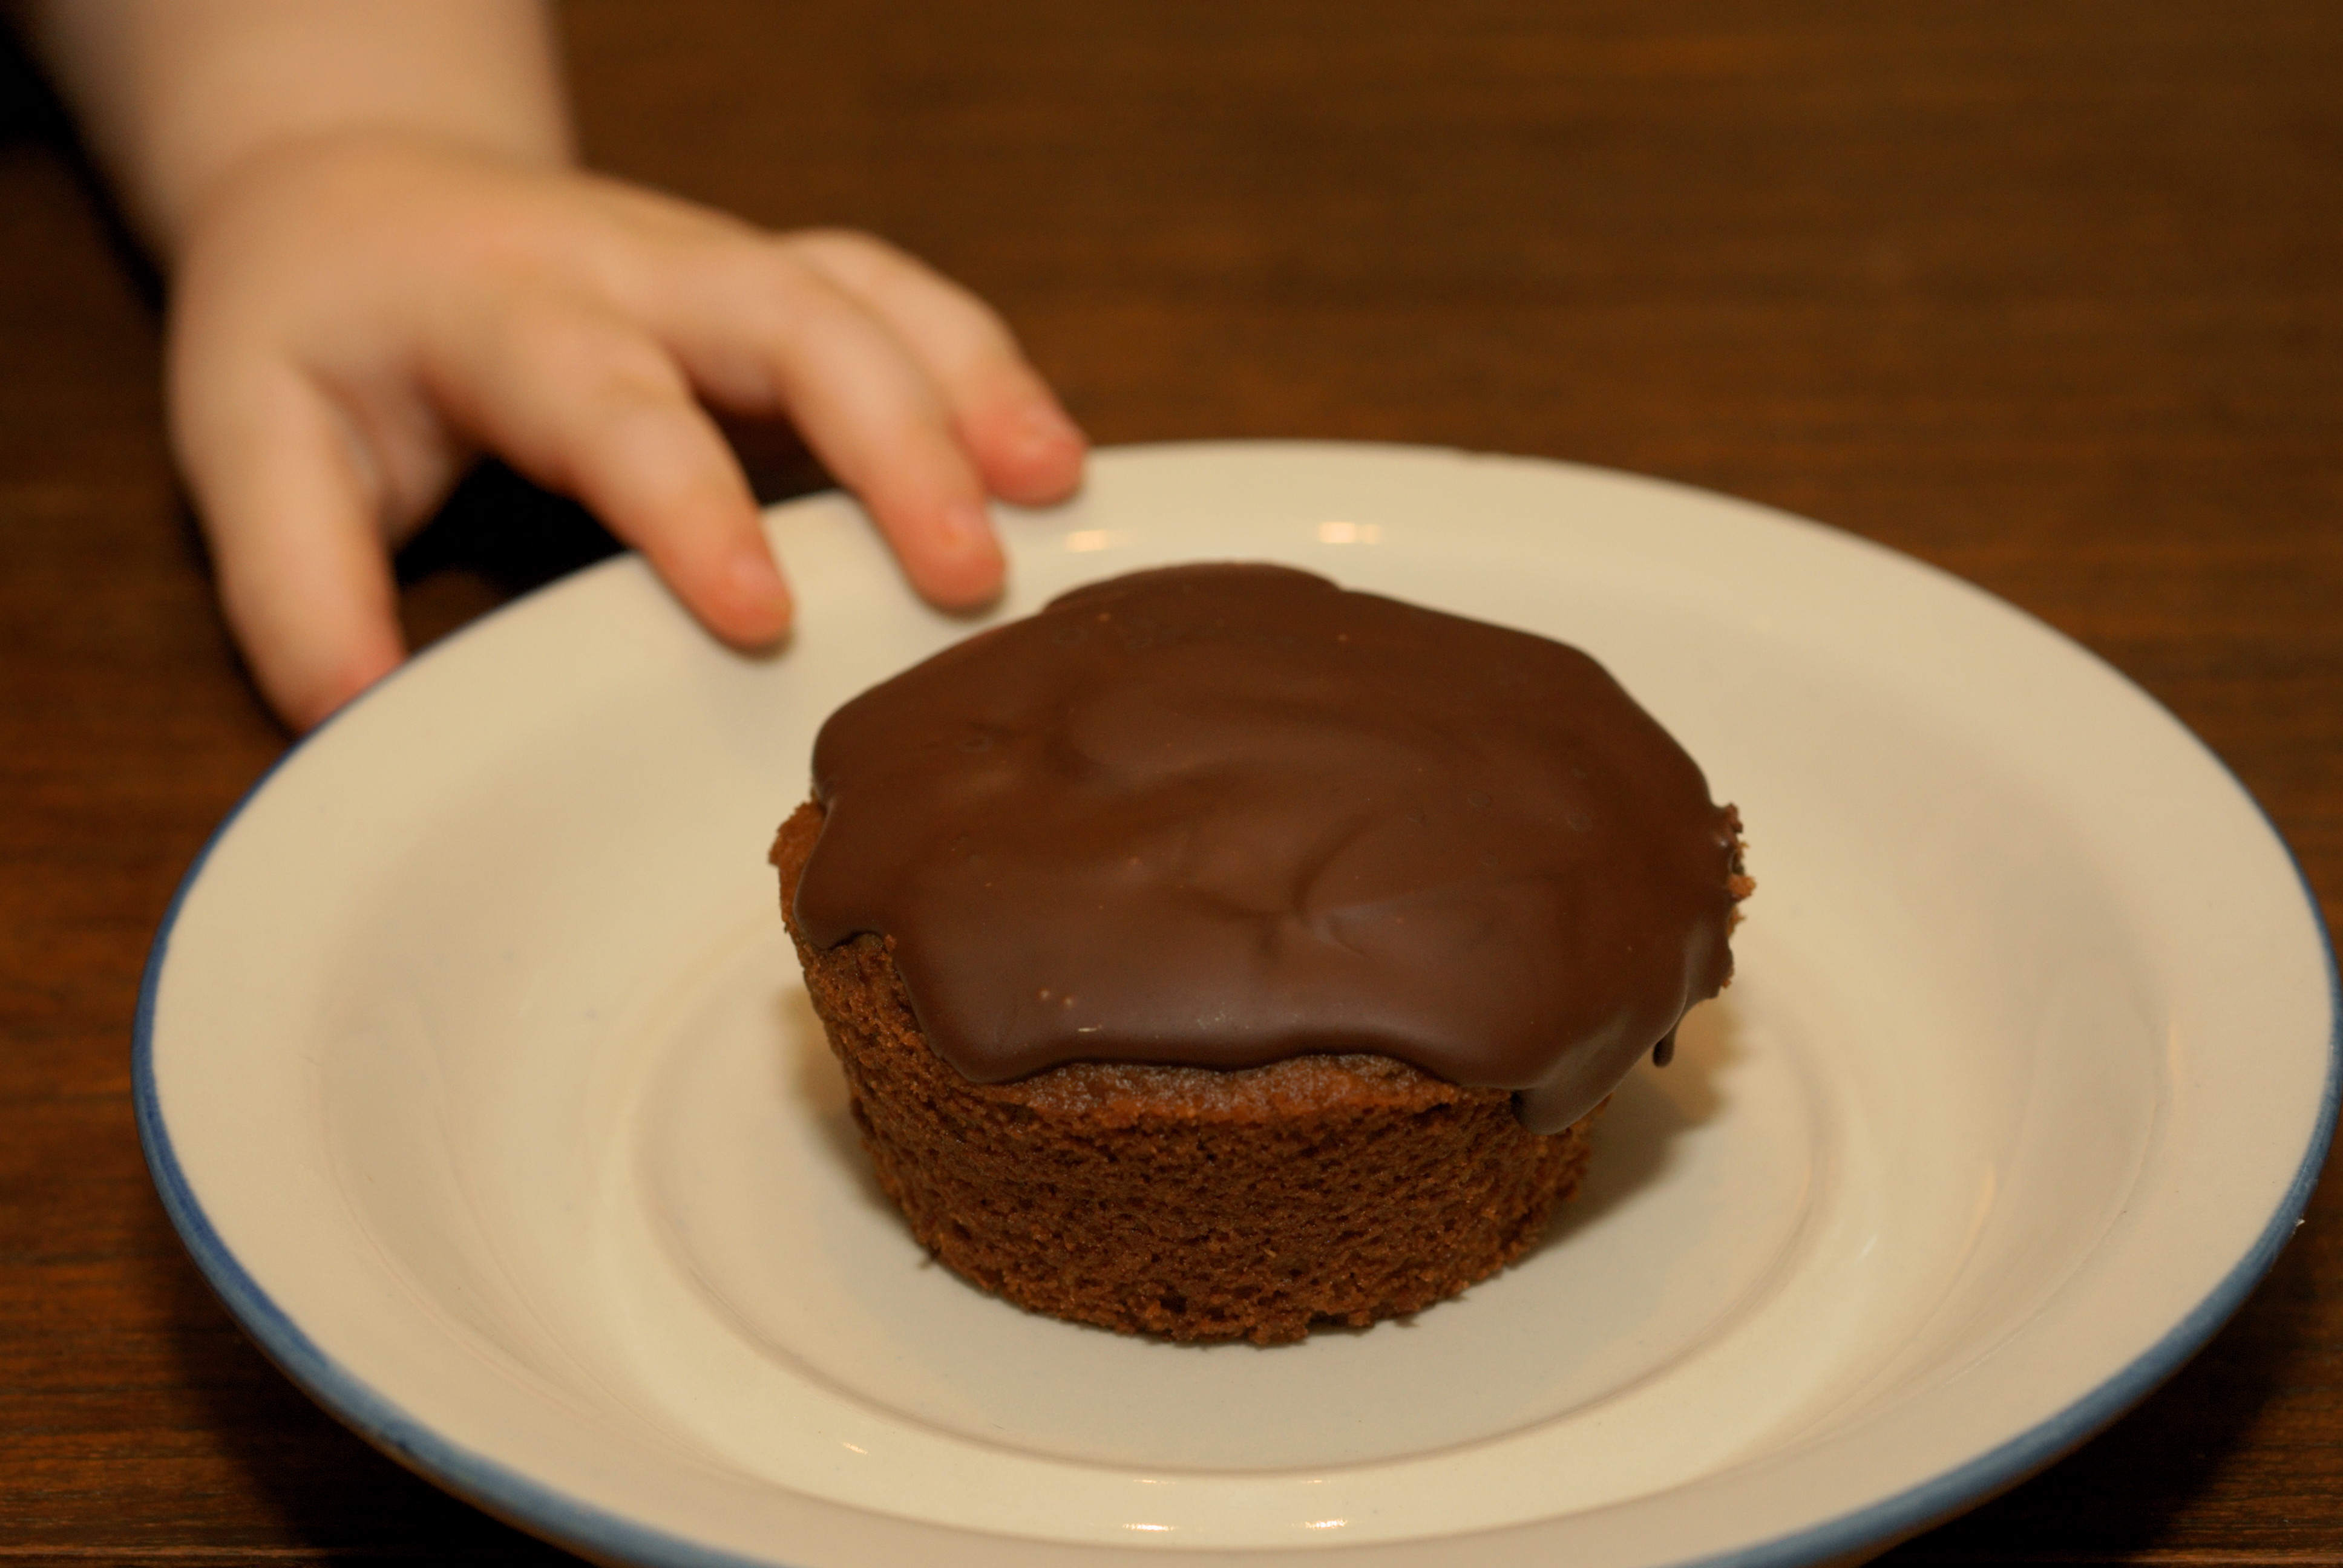
Two takes on chocolate cups here: almond butter and spicy chili coconut. Both are fabulous and it’s fun to make multiple types. Variety is always appreciated in this house. I’m sometimes guilty of making small desserts because they’re easy to pop into my mouth before a-certain-someone-whose-chocolate-intake-should-be-limited walks into the kitchen and demands one as well. I try to be sneaky, but it rarely works (trying to sneak food is like trying to sneak a quickie – kids ALWAYS know and will ALWAYS interrupt no matter how preoccupied they seemed beforehand). Anyways, my “limiting” little Ella’s chocolate is often simply drawing the line at no chocolate right before bed. It’s easier to justify frequent indulgences when you only buy good seriously dark chocolate, or make it yourself. This is one of the easiest desserts I’ve ever made. EVER. TRY IT!! Make enough to share, and remember that extra spicy chocolate is far less likely to be gobbled up by a child. (Heh, guess I am still a little sneaky.)

Almond Butter Chocolate Cups

Makes about 15 mini cups

¼ cup coconut oil (liquid) – warm over low heat if your oil is cool and solid

¼ cup cocoa powder or raw cacao powder – sifted!

3-4 T. pure maple syrup

Unsweetened almond butter

Whisk together in small bowl until smooth.

Fill about 1/3rd of the mini candy papers with the warm chocolate. Place in freezer 5 minutes, until chocolate is set. Place a small amount of almond butter (¼ – ½ teaspoon) on cooled chocolate, and cover with additional warm chocolate. Return to freezer 10 minutes or until chocolate is set. Best stored in the freezer.

DONE! Welcome to chocolate nirvana.

Taste buds craving a kick like mine? Try this…

Spicy Chili Chocolate

Mix coconut oil, cocoa powder and maple syrup as instructed above. Forget the almond butter and instead add ¼ t. high quality chili powder and a generous dash of ground cinnamon to your warm chocolate before filling your mini candy papers. Sprinkle a tiny amount of the chili powder and unsweetened desiccated coconut (optional) before freezing if you like the look of it, or want to make it easy to identify which chocolate you’re about to eat, because I definitely recommend getting creative with this recipe and adding whatever spices excite you.

Thanks to This Rawsome Vegan Life for posting amazing desserts such as the Give Me Chocolate Almond Butter Cups which inspired this post. This site rocks so check it out if you’re looking for more healthy inspiration!

Advertisement
 

Banana-Coconut Cake with Agave Frosting March 6, 2013

Gluten-free banana coconut cake

Last week I turned 30, and had one of the best carrot cakes EVER to celebrate. Made out of almond flour with raisins and walnuts, topped with coconut agave frosting, containing no gluten, dairy or refined sugar, it was deliciously satisfying and just what I wanted. Total dream cake for someone who loathes a major sugar crash and the subsequent cravings for another high. I have Elena’s Pantry to thank for posting that recipe, and for inspiring this new Banana-Coconut Cake out of a necessity to use up excess frosting which I simply couldn’t let go to waste. So if you use her frosting recipe too, scale it down if you only intend to make one cake.

You’ll notice below that my measurements for this cake are in ounces and grams because I’m trying to use my scale more often, especially when creating gluten-free baked products. It can make a big difference in the finished product, and really it makes it easier for me to record amounts when I’m eye-balling ingredients. I’ve tried to include standard cup measurements as well, but do recommend using your scale if you own one. There’s so little sweetener in this cake because the frosting provides plenty, but even on its own the cake is delicious and healthy. My 3 year old and I like it best featured at one of our frequent tea parties.

I ate my birthday cake to the tune of “Older” by They Might Be Giants, which reminds you with upbeat repetition “You’re older than you’ve ever been…and now you’re even older…now you’re even older…now you’re even older.” After I frosted my Banana Cake this week and sliced some for my little Ella she started singing the tune again, replacing “older” with “sweeter”. Hopefully it’ll make your day sweeter too.

gluten-free banana coconut cake

 Banana-Coconut Cake

Free of gluten, dairy, refined sugar

2 oz coconut oil (1/4 cup)

2 ripe bananas

2 ½ oz honey (3 ¾ Tablespoons)

2 eggs, room temperature

1 t. almond extract

95 grams oat flour (scant 1 cup)

18 grams buckwheat flour (2 ½ Tablespoons)

33 grams almond flour (5 ½ Tablespoons)

42 grams unsweetened shredded coconut (about ½ cup)

1/8 t. sea salt

1 t. baking powder

1 ½ oz chopped dates

Preheat oven to 350° and grease two 6” cake pans with coconut oil. (Or substitute with one 9” cake layer and make a few muffins if you have excess batter)

Warm coconut oil in a small saucepan until smooth and clear. Move to mixing bowl, add ripe bananas and honey and mix (hand mixer is sufficient) for 1 minute. Add the eggs and extract, mixing well.

In small bowl whisk together all dry ingredients. Pour dry mix into the banana batter, mix well, then add chopped dates.

Pour into your two greased cake pans and bake 25 minutes or until skewer test is clean. Cool in pans 5 minutes, then place on cooling racks.

Frost after cooling completely (recipe link below) and store in refrigerator. *note that the frosting recipe will take about 2 hours to achieve the right consistency in the refrigerator, and a reminder that the Banana-Coconut Cake only requires less than half the original recipe

Agave Sweetened “Vegan Coconut Cream Frosting” Recipe from Elena’s Pantry

gf banana coconut cake

banana coconut cake


Cinnamon-Orange Cranberry Sauce with Medjool Dates (no refined sugar!) November 8, 2012

Pictured on Gluten-free Cinnamon Amaranth Biscuits

This probably isn’t the cranberry sauce of your childhood. If you’re looking for a traditional American cranberry sauce with lots of sugar to cover the tangy bite of fresh cranberries, this is not the recipe for your holiday meal. This recipe is designed to excite your taste-buds and challenge your concept of what a cranberry sauce should taste like. And while it doesn’t contain any refined sugar, the cinnamon, dates and brown rice syrup ensure it is still delightfully sweet. Thanks to aged balsamic vinegar, fresh orange juice, and medjool dates, I can honestly say I’ve never tasted a cranberry sauce with so many tiers of flavors. If you give it a try I suggest you have some biscuits waiting so you can start devouring this amazing sauce right away. Let it chill in the refrigerator overnight and it’s practically like jam. It’s incredible with a sharp white cheddar cheese. If ever there was a reason to stock up on fresh cranberries, this is it.

 Cinnamon-Orange Cranberry Sauce with Medjool Dates

cooks in 30 minutes

For approximately 2 cups sauce:

12 oz fresh or frozen cranberries (1 bag, rinsed in cold water if frozen)

¼ cup + 2 T. water

½ cup + 2 T. brown rice syrup

1 strip orange zest (use a peeler for one long strip)

½ cup fresh orange juice

½ T. aged balsamic vinegar (I used a 12 year barrel aged vinegar from Spicewood Food Company)

1 cinnamon stick

½ cup medjool dates, pitted, chopped (4 large dates)

1/8 t. ground cinnamon

In a heavy bottomed saucepan, combine water, brown rice syrup, orange zest, orange juice, vinegar and cinnamon stick. Over medium heat, cook 3 minutes. Add ½ of the cranberries and half of the dates; cook 7 minutes, or until cranberries begin to pop, stirring occasionally. Add remaining cranberries and dates and cook additional 7 minutes, stirring occasionally.

Using a slotted spoon, remove cranberries from the pot and place aside in a small bowl. Return pot with cooking liquid to the heat so it can reduce and thicken, adding ground cinnamon and making sure the cinnamon stick is still in the liquid (orange zest should be removed). Simmer over medium heat 12-15 minutes, stirring occasionally.

Return cranberries to the sauce, stir and allow to cool to room temperature. The sauce will thicken further as it cools. Can be made ahead and stored in the refrigerator for 3 days.

For approximately 4 cups sauce:

24 oz fresh or frozen cranberries (2 bags, rinsed in cold water if frozen)

¾ cup water

1 ¼ cup brown rice syrup

2 strips orange zest (use a peeler for one long strip)

1 cup fresh orange juice

1 T. aged balsamic vinegar (I used a 12 year barrel aged vinegar from Spicewood Food Company)

1 cinnamon stick

1 cup medjool dates, pitted, chopped (8 large dates)

¼ t. ground cinnamon

Inspired by a recipe from Gourmet magazine entitled Cranberry Sauce with Dates and Orange


Granola Bar Pie…or Oatmeal Pecan Breakfast Bars November 6, 2012

Sometimes what you name your food determines your child’s excitement level, and this was certainly true this morning when I poured the breakfast bar batter into a pie pan and dubbed this the Granola Bar Pie. Try getting creative with food terminology and see how your toddler responds.

The bars (or pie wedges) are very portable once cool, maintaining enough moisture to not crumble in the car on the way to preschool. My kid has always been a night owl, and getting her up and ready to leave the house by 8:30 twice a week is damn difficult sometimes. THE most time consuming part of our morning is always breakfast because Ella loves to eat, and she likes to take her time doing it. No kidding, a small bowl of yogurt takes 30 minutes to consume sometimes. I’m completely thrilled that she’s a good eater and want to avoid rushing her meals or making them a source of stress at all costs. Keeping a portable breakfast food around, and remembering it’s okay to brush her teeth in the car (it’s not like the toothpaste I give her is harmful if swallowed, so why not?) is really helpful. She thinks brushing her teeth in the car is hilariously silly and likes that her car seat can occasionally be the dentist chair as well.

 Granola Bar Pie/Oatmeal Pecan Breakfast Bars

vegan and gluten free, contains no refined sugar

1  1/4 cup oats

1/2 cup ground pecans

1/4 cup coconut flour

3/4 t. ground ginger

1  1/2 t. ground cinnamon

pinch of ground cloves

1/4  t. sea salt

1 T. flax meal (ground flax seeds)

1/2 T. salba or chia seeds

1 cup almond milk (or milk of choice)

1/2 T. vanilla extract

1 T. maple syrup

2 frozen bananas, thawed, mashed

1/4 cup raisins

Preheat oven to 375 F. Allow frozen bananas to thaw in a bowl on the stove (especially if your oven exhaust fan pushes all the hot air onto your stove-top like mine does), or place in the oven for a few minutes as it starts to preheat, or thaw in the microwave for 30-45 seconds.

Combine all dry ingredients in a large bowl. Add almond milk, vanilla, maple syrup and thawed bananas, mix well. Stir in raisins. Butter a pie pan (or use coconut oil) and pour batter into pan, smoothing the top with a spatula. Bake 25-30 minutes until firm. Allow to cool 5 minutes before slicing into 8 wedges.

Inspired by: Banana Raisin Oatmeal Bars from Quinoa, Kale & Exhale


DIY Cranberry Almond Granola October 24, 2012

Boxed granola from the grocery store is typically loaded with sugar, and it’s pretty darn expensive when you consider the low cost of oats. With just a few ingredients and 30 minutes, this homemade granola recipe will leave your kitchen smelling of warm cinnamon and toasted almonds and you’ll have a healthy snack to munch on all week. If you’ve never tried making your own granola before, this is a great starter recipe, easily adaptable to whatever nuts, dried fruits or add-ins you’ve got in your pantry. Today it’s also satisfying my sweet tooth because I am completely out of cookies. 😦 I’m not sure how I let that happen, but the granola is actually a great substitute.

Cranberry Almond Granola

2 cups rolled oats

1 t. ground cinnamon

½ t. sea salt

3 T. canola oil

¼ cup + 1 T. honey (or agave for vegan granola)

1 t. vanilla extract

1/4 cup unsalted sunflower seeds

1/3 cup dried cranberries

1/3 cup sliced or slivered almonds

2 T. flax meal or whole flax seeds

Preheat oven to 325° F.

In large bowl combine oats, cinnamon and salt. In small bowl combine oil, honey and vanilla extract; pour onto oats and mix well. Add sunflower seeds and cranberries. (Almonds and flax are added later.)

Cover a baking sheet with parchment paper or very lightly oil pan. Spread granola onto pan evenly, but don’t spread it too thin, and remember clumpy granola is okay.

Bake 10 minutes, then add almonds and flip gently with a spatula. Return to oven, bake additional 15 minutes or until golden brown. Remove from oven and immediately sprinkle with flax so it will stick to the oats. Allow to cool completely. Store in glass jar or other air-tight container. Yields 3 1/2 cups. Best eaten within 1 week.


Buckwheat Flax Crepes & Spiced Raisin Mascarpone (gluten-free) October 20, 2012

I have to thank Andrea Drugay for posting a recipe for Easy Flaxseed Wraps on her blog, which inspired a week-long obsession and several new recipes. The original recipe called for 100% flax, and it’s a delicious wrap, but in order to create a gluten-free crepe that I was happy with for breakfast or dessert, I decided to try using a little buckwheat flour as well. And because I’m always looking to incorporate more vegetables into my family’s diet, I tried first grated carrot, then grated zucchini and settled on the latter for this recipe. The crepes are simple to make, and the mascarpone makes them quite memorable, but it’s totally optional – the crepes are marvelous on their own, or filled with fresh peaches and cottage cheese or just bananas and a sprinkle of cinnamon for a healthy breakfast. No sugar is called for in the crepe batter, but a little pure maple syrup is of course a tasty complement if you’re in the mood for a sweeter treat. At the bottom of this post you’ll find a recipe scaled down to serve 1 person (2 small crepes), and more pictures of some of the many crepes I made this week.

Buckwheat Flax Crepes:

Crepes are gluten-free, sugar free and dairy free if using coconut oil


¼ cup buckwheat flour

½ cup flax seed meal

1 t. baking powder

1 t. ground cinnamon

¼ t. sea salt

2 T. coconut oil, earth balance or butter, melted

4 eggs

½ cup finely grated zucchini (about 1/3 medium zucchini)

2 T. water

Spiced Raisin Mascarpone Cream:

½ cup raisins

¼ t. cinnamon

1 whole clove or a dash of ground cloves

3 T. water

3 T. unsweetened pure apple juice, or water

½ cup mascarpone (Italian cream cheese)

In a small saucepan, combine raisins, cinnamon, clove, water and juice. Bring to a simmer and cook 6-8 minutes, until raisins are plump and liquid has been absorbed. Assemble crepe ingredients while raisins are cooking. Remove from heat, remove and discard clove and let cool.

In medium bowl, whisk together buckwheat flour, flax meal, baking powder, cinnamon and salt. Pour in melted coconut oil or butter, add egg, water and zucchini, and mix well. Preheat a small nonstick pan over medium heat and lightly coat with coconut oil (a couple drops will do). Once pan is hot, pour ¼ cup crepe batter into the pan and quickly tilt the pan to evenly distribute the batter over the pan. Crepes should be thin – use just enough batter to cover your pan. Cover the pan and cook approximately 1 ½ – 2 minutes or until the batter has cooked through (no need to flip). Move crepe to a plate, lightly oil your pan again and repeat. Recipe yields 8 crepes.

Once you’ve given the raisin mixture a few minutes to cool (Remember to find and discard the clove!), pulse in a food processor 30 seconds. Move to a small bowl and fold in mascarpone, mixing well.

Serve crepes with the raisin-mascarpone cream, sliced bananas and a drizzle of maple syrup. Or forget the bananas and create a crepe cake, spreading the raisin-mascarpone cream between 4 or more layers of crepes and slice like a cake.

Amounts for 1 serving (makes 2 crepes):

1 T. buckwheat flour

2 T. flax seed meal

¼ t. baking powder

¼ t. spice (mix it up depending on your fillings)

Generous pinch of sea salt

½ T. coconut oil, earth balance or butter, melted

1 egg

2 T. finely grated zucchini

1/2 T. water

For Carrot Crepes: substitute finely shredded carrots for the zucchini

For 100% Flax Crepes: replace buckwheat with flax meal (3/4 cup total for full recipe)


Slow Down and Savor It: Oatmeal for Autumn October 18, 2012

If oatmeal conjures memories of mushy slop loaded with sugar and tiny dried apple pieces, it’s time you created new associations with this healthy grain. Oatmeal is fabulous, and a recipe like this one should leave the whole family satiated and smiling. Steel cut (Irish) oats are simply chopped oat groats – they are the least processed of all oat products, and they are typically stocked right alongside the old-fashioned and quick oats these days. If not, check the organic section of your grocery store. Seriously, once you try them, you’ll never want to go back to quick/instant oats.

I like to cook half of the apple pieces with the raisins 5 minutes before the oatmeal has finished cooking and add the rest with the sunflower seeds in my bowl for a little crunch. Just 2 tablespoons of pure maple syrup is plenty to sweeten the whole batch (in fact, I like it even without) because apples, raisins and cinnamon lend their natural sweetness to the oats. Enjoy the chilly mornings!

Autumn Oatmeal

4 cups water

1 cup steel cut (Irish) oats

Generous pinch of salt

½ cup raisins

1 cup apple, diced into ¼ – ½” pieces (about ½ of a large apple)

½ t. ground cinnamon

2 T. golden flax seeds

½ t. vanilla extract

2 T. pure maple syrup

¼ cup unsalted sunflower seeds, roasted or raw

Milk or milk substitute (optional) for serving

Place water, oats and salt in a medium saucepan and bring to a boil. Reduce heat to a strong simmer and cook 20 minutes, stirring occasionally.

Add raisins, ½ of your chopped apples and cinnamon; cook additional 5 minutes, stirring frequently.

Remove from heat, stir in flax seeds, vanilla extract and maple syrup. Place in bowls and top with remaining apples, a generous sprinkle of sunflower seeds, and a dash of cinnamon. Serve with milk or milk substitute if desired.

Serves 4

What are some of your favorite oatmeal add-ins?


The Toddler Sushi Roll August 20, 2012

I could eat sushi every day of my life…but since I can’t afford sushi bars or exposing my body to so much mercury on a regular basis, I’m getting creative making sushi rolls at home. This tofu teriyaki roll is perfect for snacks, play dates, and picnics because it doesn’t require dipping in additional soy sauce – the tofu is already marinated so the roll is adequately salty on its own. A helpful hint for feeding sushi to toddlers: don’t slice the rolls, just leave it whole or cut the roll in half and give it to them burrito style. It’s hard to fit a full piece of sushi in a young child’s mouth, and we all know biting it in half just results in the other half spilling on our laps or the floor, but giving them a full roll allows them to bite off only as much as they can chew. Happier bellies, cleaner floors.

Tofu Teriyaki Sushi Rolls

Ingredients:
1 package marinated tofu (recipe below)
6 sheets Nori seaweed paper
2 cups cooked and cooled short grain brown rice
3 large carrots, sliced into 1/4″ strips and steamed (leave raw if you/your child like them crunchy)
2 avocados, sliced

To assemble:
Place 1 nori sheet on a dry counter or cutting board and spread with a thin layer of cooled brown rice, leaving at least 1/2″ border at the top free of rice so you can seal your sushi roll. Make a horizontal line across the rice with the tofu, carrots and avocado, then tightly roll, and seal the roll by dipping your finger in cool water and running along the seaweed section without rice, then roll completely and allow to sit a couple minutes before slicing. Repeat with remaining ingredients. Sorry, if I’ve done a bad job explaining how to roll sushi, there are plenty of tutorials with photos and videos online 🙂

*You want to use tofu which has been frozen (left sealed in package) and then thawed for maximum absorption of marinade

Teriyaki Marinade:
1 package extra-firm tofu, frozen and thawed
1 1/2 cups vegetable stock
1/3 cup tamari soy sauce
2 T. granulated sugar
1 T. toasted sesame oil

To prepare tofu —
Gently squeeze the thawed tofu over a sink to remove excess moisture and cut into large, long strips, suitable for sushi making. In a saucepan, combine the stock, tamari, sugar and sesame oil. Bring to a boil, add the tofu, and cook 5-6 minutes over low heat. Turn off the heat and let sit for 30 minutes or overnight in the refrigerator.
— Teriyaki Recipe from “Color Me Vegan” cookbook by Colleen Patrick-Goudreau


Apple Rhurbarb Crumble with Fresh Ginger (includes gluten-free variation) July 1, 2012

I really lucked out with my apartment in Chicago. I’m close to the Brown line train, have a fabulous produce market at the end of my street, and a landlady who maintains a beautiful garden in the back yard and generously encourages me to use as much rhubarb and kale and I am inclined. I’d never done much with rhubarb before last summer when I moved in, but I did manage to come up with a few great desserts using that enormous plant, and I’m happy to say that I’m no longer intimidated by rhubarb. In fact I’ve already come to like and appreciate its unique tartness and beautiful color. I’m happy to share this crumble recipe with you which I created last fall and tested again last week (gluten-free this time). It’s vegan to boot!

Perfect served warm on its own or with ice cream.

Apple Rhubarb Crumble with Fresh Ginger

For Crumble:

¾ cup white whole wheat flour OR gluten-free oat flour

½ cup old fashioned oats (be sure to use GF oats if there’s an allergy)

½ cup packed brown sugar

½ cup chopped pecans (optional)

½ t. fine sea salt

½ t. ground cinnamon

¼ t. ground ginger

4 T. coconut oil

For Filling:

½ cup sugar

2 T. cornstarch

16 oz prepped rhubarb, cut into ½-inch pieces

16 oz prepped apples, peeled, cored, chopped into 1-inch pieces

1.5 T. fresh ginger, peeled, finely chopped

1 T. pure vanilla extract

Preheat oven to 350 degrees. Grease 3 quart container with coconut oil.

Combine ingredients for the crumble in a small bowl, adding the coconut oil last after the dry ingredients have been mixed. Allow the mixture to cool in the freezer while you make the filling.

Rub sugar and cornstarch together in a large bowl, then add the rhubarb, apples, fresh ginger and vanilla. Mix thoroughly and pour into greased baking pan. Top with crumble, allowing medium-sized chunks to hold together as they have cooled in the freezer.

Bake 40 minutes or until crumble is golden and the filling bubbles. Allow to cool 15-20 minutes before serving.


Gluten-Free Buttermilk Chocolate Cupcakes

Filed under: Dairy free,Dessert,Gluten Free,Vegan — annalope @ 4:59 am
Tags: , , , ,

What these really taste like to me is two-thirds of a Smore. It must be the mesquite flour in the cupcake that smells a little like graham cracker, and when I bite into one with warm chocolate running down, I really wish a toasty marshmallow was waiting inside. They’re great even without it, but someday I might see if I can find a way to sneak one in to the recipe. A great summer cupcake when looking for a chocolate fix.

Also, by using coconut oil and a nondairy milk these are easily made vegan! Because they contain no eggs, the cupcakes are light and delicate. Be careful not to pack flours or your cupcakes may be a little crumbly.

This recipe only made 9 cupcakes for me…a small batch which is rapidly disappearing. I intentionally aim for small batches of baked goods because I’m experimenting here, and am admittedly a novice with gluten-free baking. More importantly, small batches allow me to bake more frequently 🙂

GF Buttermilk Chocolate Cupcakes

Cupcake batter:

¾ cup + 2 T. GF Oat flour

2 T. mesquite flour

¼ cup white rice flour

1/8 t. xanthan gum

2 T. unsweetened cocoa powder

¼ t. sea salt

½ t. baking powder

½ t. baking soda

½ cup buttermilk or dairy free milk (or 1 ½ t. fresh lemon juice mixed with milk to = ½ cup)

½ cup maple syrup

¼ cup butter or coconut oil, melted

1 ½ t. vanilla extract

1/2 cup dark chocolate (70-80% cocoa) for sauce

Preheat oven to 350°. If mixing your own “buttermilk” add the lemon juice to the milk and allow to sit at room temperature a few minutes. Grease 9 muffin cups with butter or coconut oil.

Mix all dry ingredients together in medium bowl. In small bowl or liquid measuring cup, mix buttermilk with maple syrup, butter/oil, and vanilla. Add liquid ingredients to dry and mix well.

Pour into greased cups, bake 13-15 minutes. Do not over-bake…soft is better. Allow to cool in pan on cooling rack for 5 minutes before running a thin knife around the cupcakes and removing from pan to cool completely.

Dark Chocolate Sauce:

Chop 1/2 cup of quality dark chocolate (I really like Scharffen Berger) and melt in a double boiler or over very low heat in a heavy bottomed saucepan while stirring constantly. Spread over cooled cupcakes.